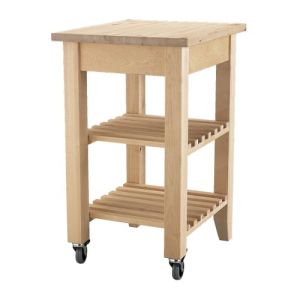
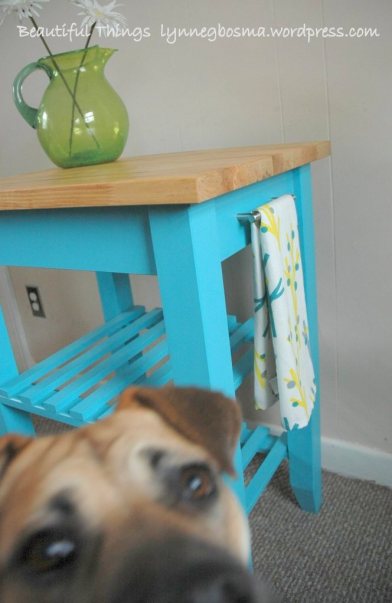
I’m so excited to share my kitchen cart project with you. It has added some lovely color and much needed counter space to our drab rental-home kitchen.
This project was extra fun because I got to try some new materials. This was my first date with Benjamin Moore paint. This paint is a bit more difficult to find. Here you can only purchase it at ACE Hardware and it ran me about $20 a quart. Regardless, it was worth every stinking penny. It was like painting with butter..whipped butter. Seriously, it was so luxurious and easy to use. Originally I wanted to try the BM Advance paint that I heard about on Young House Love but I couldn’t find it locally. So I settled with their Aura satin finish in Bahaman Sea Blue. I was not disappointed. This paint is low VOC, self-priming, and great for high traffic areas. Since my cart was untreated, unpainted wood I only needed one coat!
For the top of the cart I wanted to keep with a butcher block feel. I stained this with MinWax Wood Finish in Natural. I used two coats of stain.
Lastly, this cart was going to need to stand up to bangs, scratches, water, cleaner, etc. So I knew I had to put a finish on it. I was dreading using a poly or lacquer because of the toxic fumes and being stuck inside my house to work on this. After some research I tried Safecoat Acrylacq which a water based, low VOC, environmentally friendly lacquer type sealer. I had to purchase this online because no local dealers here..boo. I used two coats for this. This stuff was very low odor and I used it indoors with ventilation and it was just fine. So far it is holding up to use and cleaning. I love love love it and plan on finishing most of my high use pieces with this.
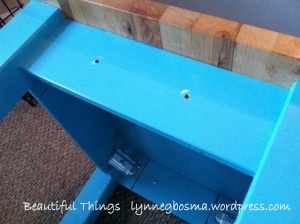
For the finishing touches I drilled a few holes on each side and added a towel bar. I bought a larger drawer pull from Lowes to fit the smaller space. Worked like a charm. Finally, I added a lovely Scandinavian tree tea towel from West Elm to finish it off.
Hope you enjoy it!
Partay-ing over here:


Your cart is just beautiful! I love the color. And the extra storage and work space will surely come in handy! Thanks so much for linking up and linking back!
yes, with our tiny rental home kitchen we needed the space!! Thank you for stopping by and hosting 🙂
Love this cart and Love the color….. One of my favs!!
http://www.seesewandseedlings.blogspot.com/
thank you!!
That is a great redo! That blue is fabulous and the dog is so cute – what a fun pic! Thank you for linking up to my Creative Inspirations party – I am so glad you came by! I would love for you to come back this week to link up again!
Stacey of Embracing Change
Thanks for hosting and swinging by! Thanks also for your sweet words about my project. 😀
Fabulous fabulous color choice. I love the final look!!! :o)
Jaime from crafty scrappy happy
Thank you!
I so love the bright cheery finish. Great work! Sharing tomorrow at my party!
Thanks so much! Your blog is wonderful. Thanks for hosting! So excited for the share 😀
Love that color, posted it on my Facebook page. Thanks for linking up!
https://www.facebook.com/#!/MakingLemonadeBlog